Bone Broth 101
Recipes and nutritional expertise by Farm to Crag’s Katie Ryan and Linda Tyler, respectively.
Stocking Your Portable Pantry
Bone broth is an incredibly nutritious and flavorful base for a myriad of easy dishes. Full of protein, gelatin, amino acids and minerals, bone broth turns boiled vegetables, cooked beans and grains, and soups and stews each into a complete, nutritious meal. If you have access to a kitchen, try making your own. It's easy, cheaper, and gives you the opportunity to support your local farmer by using often discarded animal parts that are still full of nutrition. Any kind of bone will do, although collagen-dense bones are preferred, such as beef knuckle or marrow bones, ham hocks, or chicken feet.
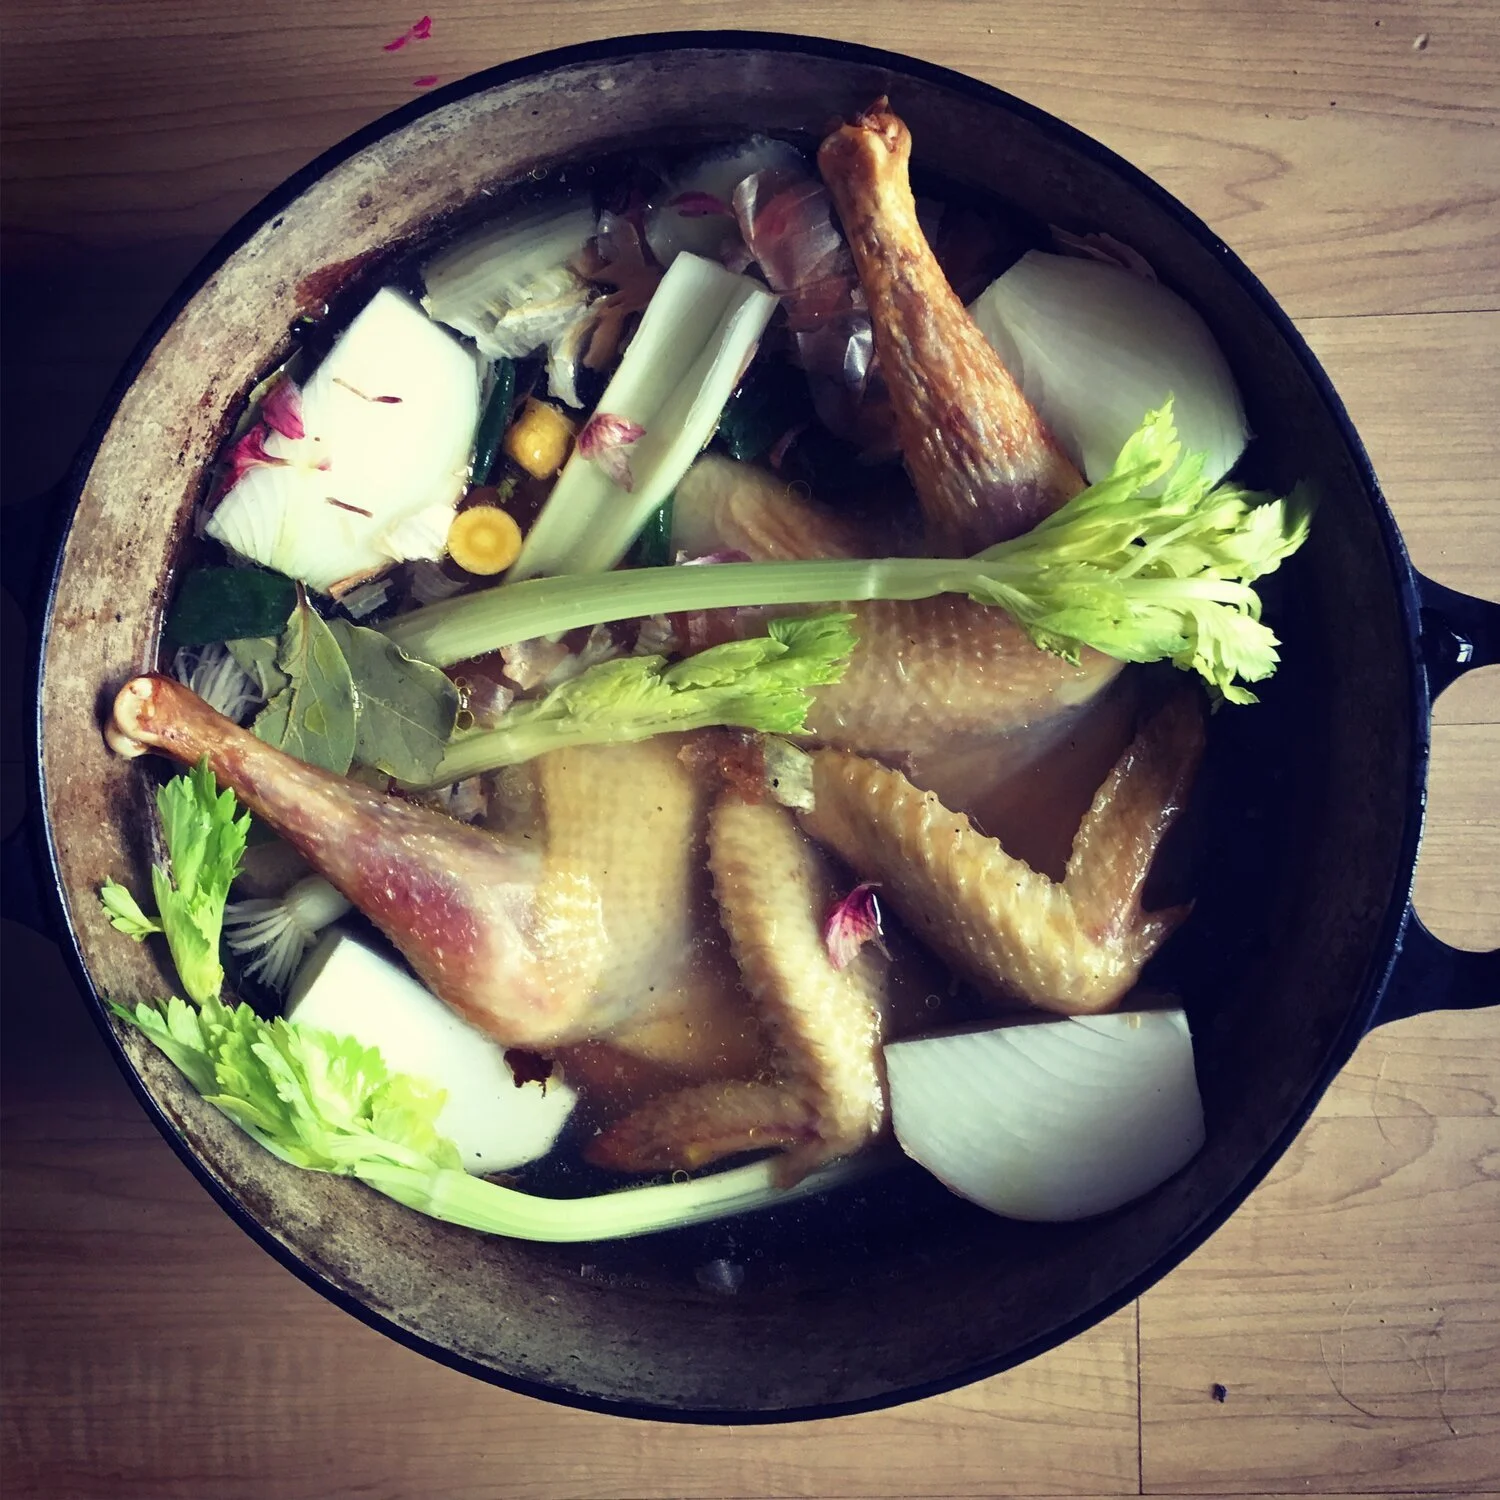
Making nutrient-dense broth out of beautiful “waste” - photo by Katie Ryan
First, roast your bones, along with any veggie scraps you have (carrot or onion peels, garlic, celery or parsley stems) in a 425 degree oven until brown and caramelized (this step isn’t necessary but does deepen the broth’s flavor and removes some of the fat that can turn your broth “greasy” in flavor). Set aside the veggies and cover bones with water and cook slowly for 48-72 hours. Use a dutch oven or braising pan in a 180 degree oven, or a slow cooker on low. Alternately, speed the process by using a pressure cooker (like the Instant Pot or your grandma’s stove-top version) and cut your cooking time in half. You can continue cooking until the bones are soft and collapse to get the most nutrient bang for your buck. Add your veggies to the mix and cook for another 24 hours.
When the broth is done, strain and cool, then skim the fat and discard -- you want to avoid eating this because the fat has certainly endured some oxidation during the cooking process. You can use your finished bone broth as is; freeze it into ziplock bags or containers for future cooler "ice packs"; or even better, reduce it into a concentrated form that stores well in the fridge for months, in a cooler for weeks, or in your backpack for days. To concentrate, boil your bone broth on medium heat (either the purchased or homemade stuff) until it reduces to a thick, gelatinous mass (about 1/10th the original volume), then store the sticky stuff in small containers for future use.
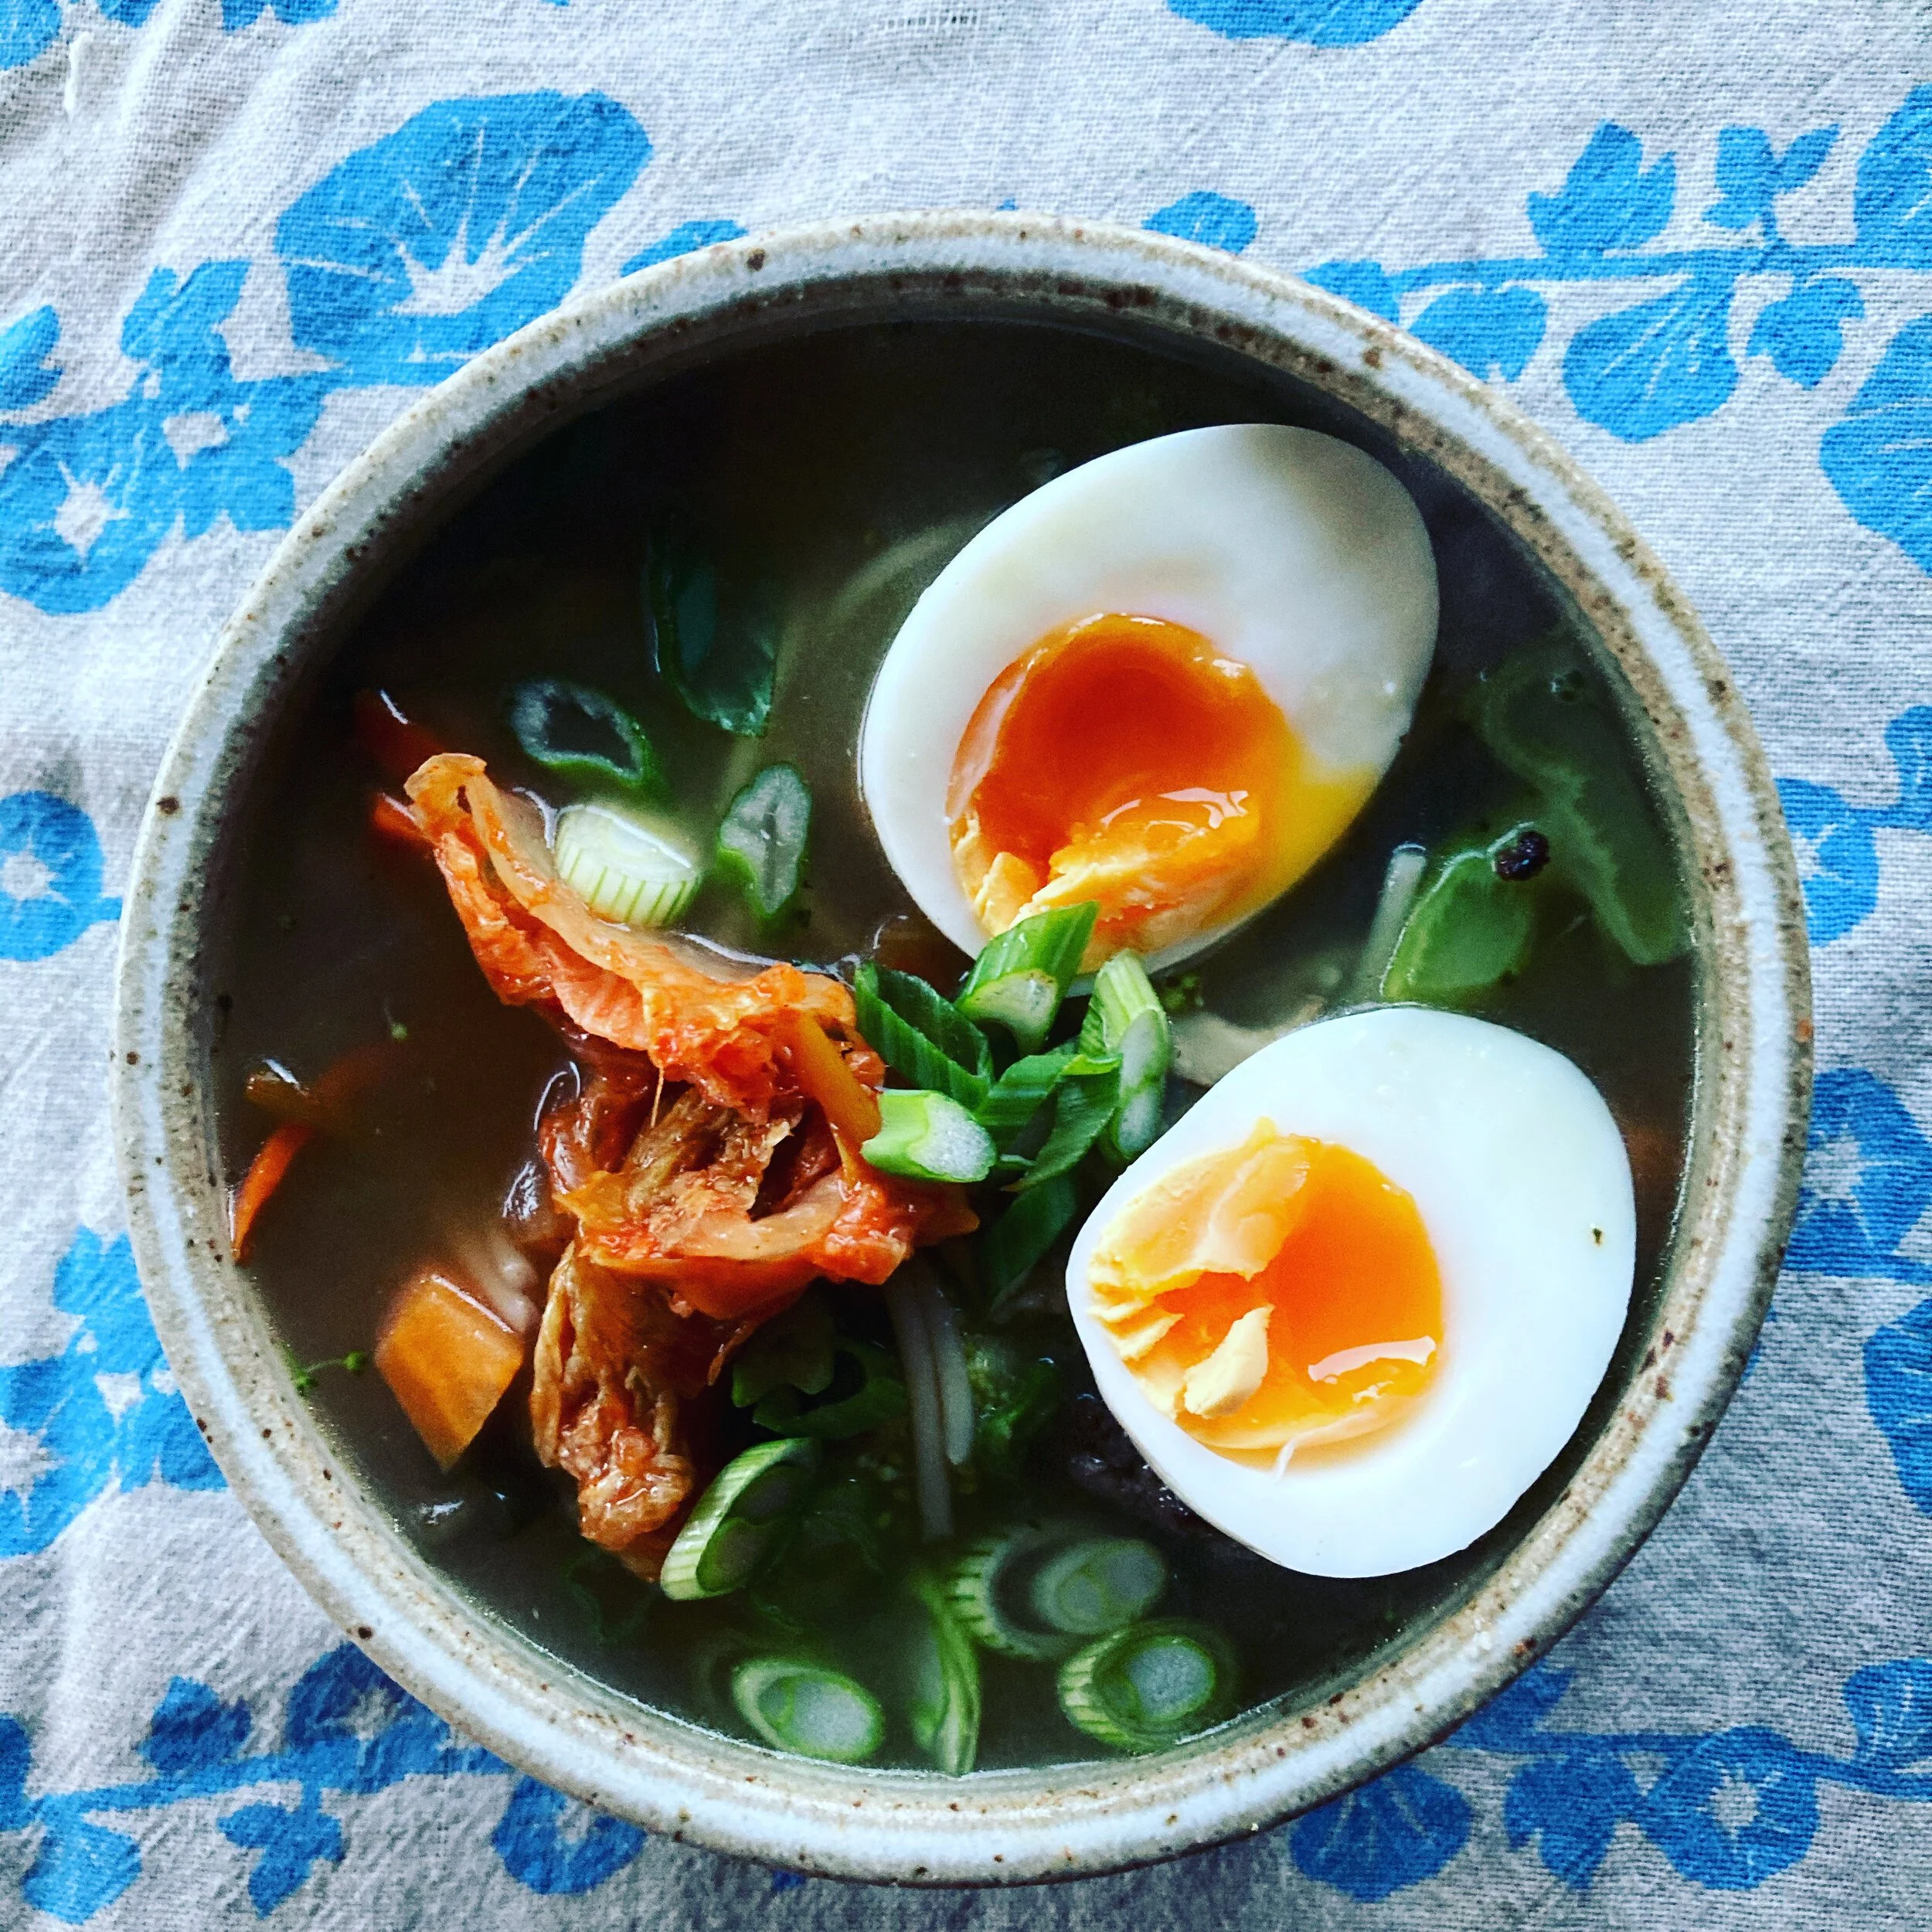
Every-day Ramen with kimchi - photo by Katie Ryan
Ramen with Bone Broth & Miso
Servings: 2
This recipe is pretty simple, but you can even go simpler by only using the ingredients in bold and adding whatever other components you have on hand.
1 qt BONE BROTH
Handful dried KOMBU (seaweed)
Handful dried SHIITAKE mushrooms
½ ONION or SHALLOT, sliced
1 inch GINGER, sliced into 3 big pieces
1-2 cups VEGGIES (a combo of bok choy, shiitakes and sweet potatoes is my personal favorite), chopped
Spoonful of MISO
Dash of TAMARI or soy sauce
Dash of SWEETENER (sugar, honey, maple)
Dash of FISH SAUCE
2 EGGS
½ lb RAMEN NOODLES (substitute with rice noodles for GF)
FRESH CHILIS, sliced or CHILI OIL
SCALLIONS, sliced
To make the ramen broth (also known more broadly as dashi), soak the kombu and dried mushrooms overnight in the bone broth. The next day, bring almost to a boil, then turn off the heat and strain (for a simpler version, skip this step and use the bone broth as-is).
Sauté onion and ginger in a splash of oil until fragrant. Add veggies and cook until softened.
Cook the noodles as directed on the package in salted, boiling water. Strain and set aside.
Soft-boil the eggs: bring a pot of water to boil, add eggs and cook 7 minutes. Immediately run under cold water for 5+ minutes to stop cooking process. Slice in half just before serving.
Combine miso with broth, tamari, sweetener and fish sauce and blend until dissolved. Add to the pot of veggies. Taste for seasoning. Remove chunks of ginger.
To assemble bowls: divides noodles and broth mixture. Top bowls with halved eggs, a small pile of kimchi, and a sprinkle of chilis and scallions. Enjoy!
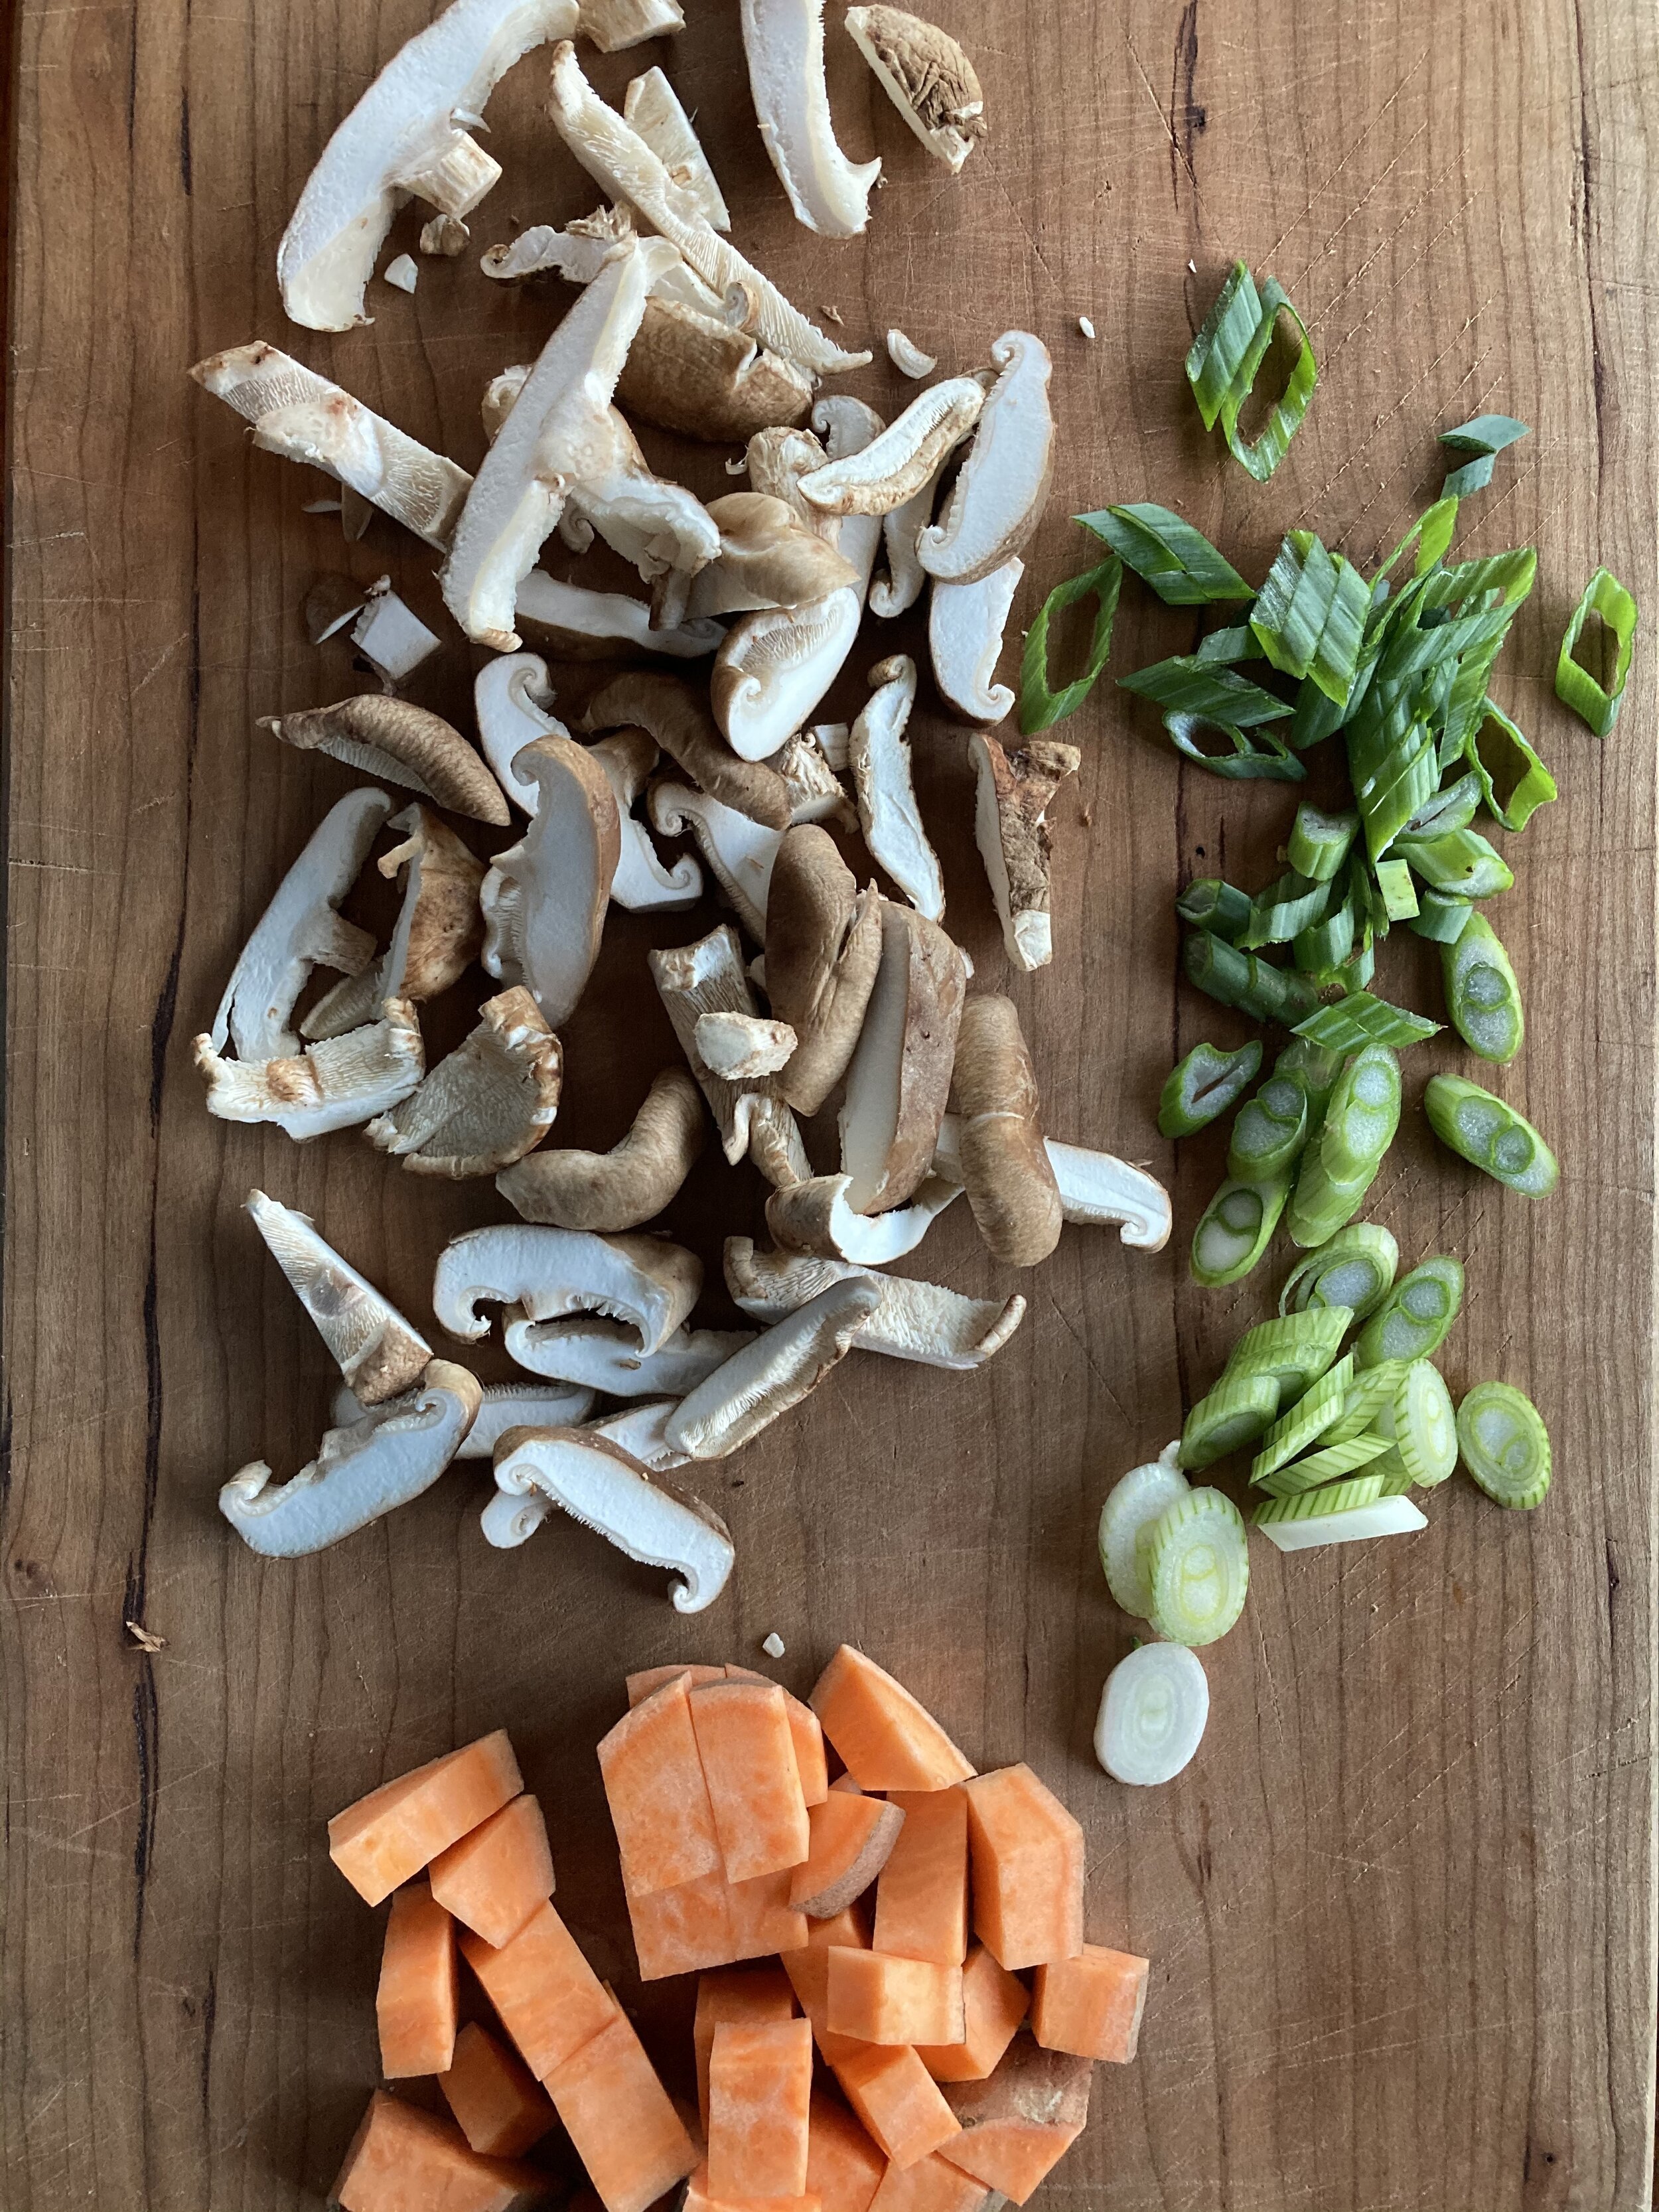
Some favorite ingredients, chopped into small pieces for Ramen - photo by Katie Ryan