
Dehydration
by Katie Ryan and Linda Tyler, Farm To Crag’s resident chef and nutritionist, respectively
Stocking Your Portable Pantry
All of us here at Farm To Crag are eager to get out climbing… we know you’re all eager too! But just like unexpected rainy days, long winter seasons, or life priorities that temporarily distract from our favorite sport, now is also a great opportunity to hone your skills in the kitchen and stock your portable pantry so you can have healthy, travel-friendly meals and prepared ingredients at the ready. Lucky for us, the current shelter-in-place finds us in the midst of spring -- with an abundance of fresh, seasonal produce at your local farms and markets to experiment with!
We’ve put together a series of posts with some of our favorite tips, techniques, and recipes to help guide your creativity and make the most of this time. The focus of this first post is all things dehydration! Tune in soon for topics covering spice blends, nuts and seeds, grains and legumes, and a F2C fave: bone broth!
Getting Started With Dehydration
Dehydration is one of the oldest traditions for storing seasonal abundance into more portable and durable forms. If you’re a backpacker, or big wall or alpine climber, you’ve probably already had your fair share of dehydrated meals! Dehydrating your own food is simple and one of the best ways to preserve nutrients while crafting meals that match your flavor preferences -- and they certainly come out tastier than anything you’ll find in a bag at your local gear shop.
You’ll retain maximum nutrients if you dry foods immediately after harvesting. Time, light, and air, as well as cooking, all contribute to nutrient loss. While minerals, fiber and iron are well preserved during the drying process, certain vitamins undergo considerable loss with pretreatment and drying, specifically vitamins A (carotenes) and C (ascorbic acid). To lock in the latter, try dipping your fruits or vegetables into lemon or lime juice before drying them -- this also helps preserve their vibrant color. The B vitamins remain mostly unaffected by drying, with thiamine being most affected.
Your choice of drying processes will also affect nutrient retention to some degree. Solar drying, like on your van dash or between screens outside, will cause the greatest nutrient loss, while drying in a dehydrator or the oven will preserve more. Whatever process you choose, experiment with lots of different foods and know that you’re packing a powerful and lightweight nutrient punch into your next camping, climbing, or backcountry adventure trip. Here we focus on dehydrating whole foods: veggies, herbs and meat.
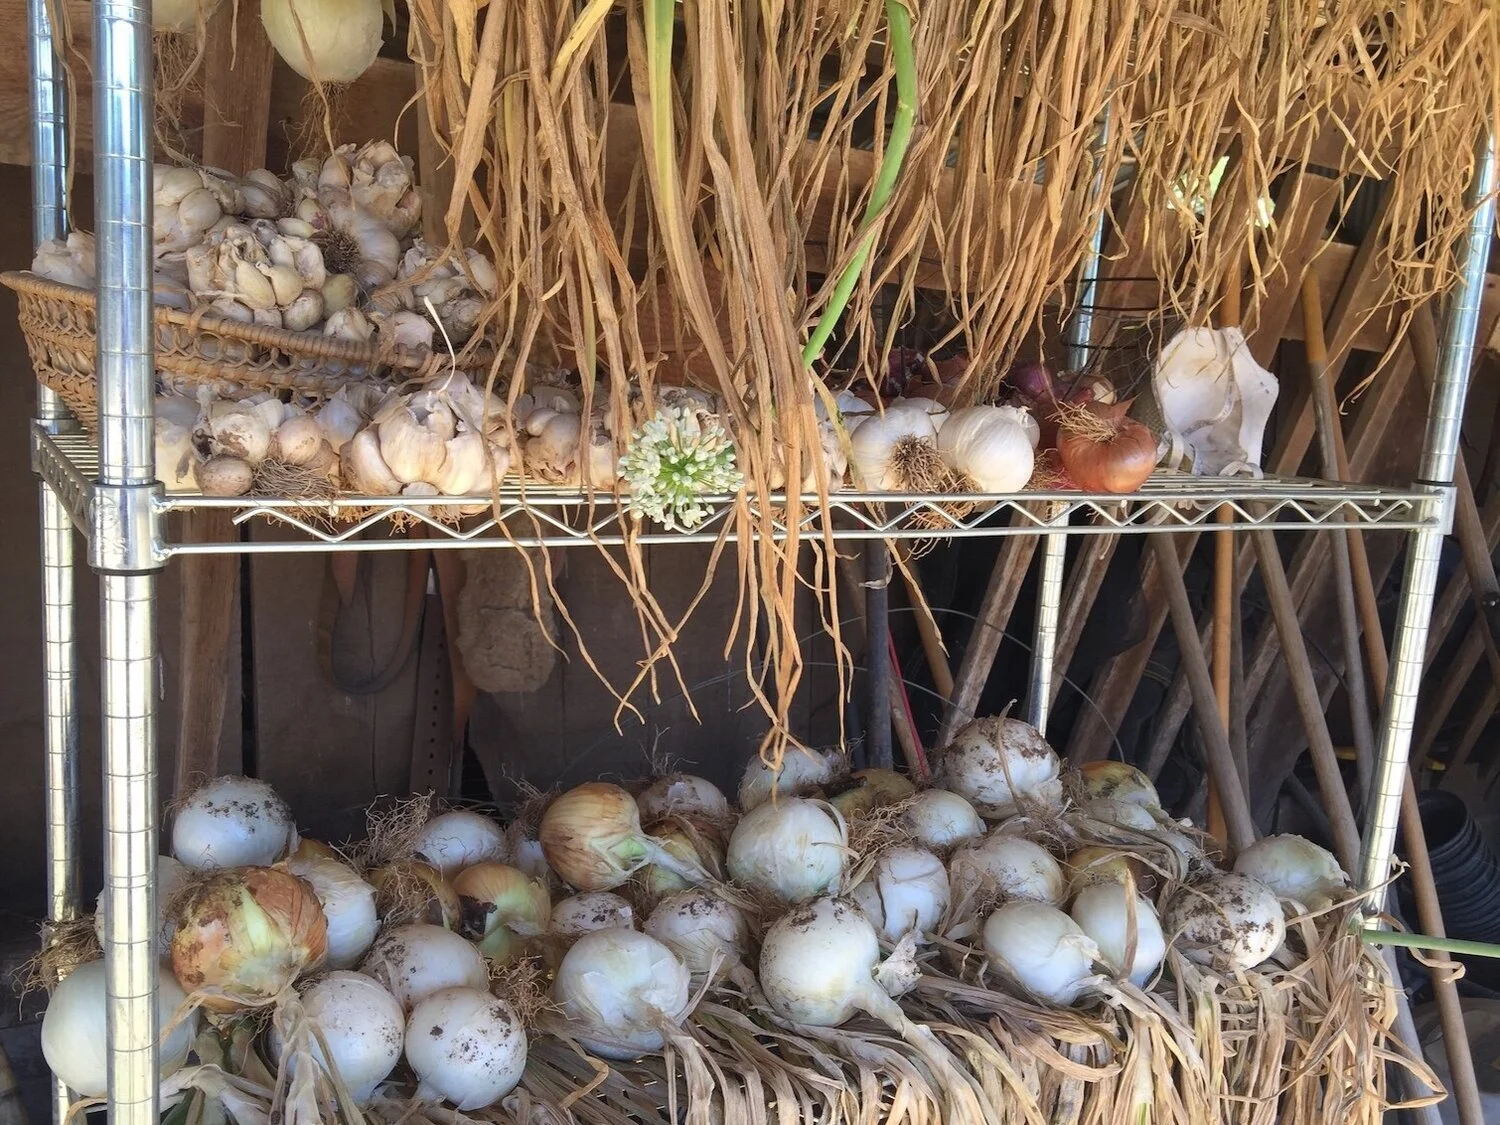
Dried onions and garlic are an easy choice for portable, storable dried vegetables — photo: Linda Tyler
Seasonal Vegetables
Most veggies that you enjoy from your garden or farmer’s market will likely be nutritious and delicious dehydrated, then eaten dry or rehydrated when you’re on the road or in the backcountry. Veggies can be dehydrated raw, but some will come out better precooked. Likely the veggies that you don’t normally eat raw (sweet potatoes, onions, squashes, etc.) will also be best precooked. Simply steam, blanch, saute or roast these veggies until al dente (just barely cooked through) before dehydrating. Dried vegetables will store longer if you don’t use any oil during the cooking process.
Every vegetable dehydrates differently because moisture and fiber content will vary greatly. Low-moisture veggies, such as kale, spinach and mushrooms, can simply be put on a baking sheet or screen and left in a warm, dry place (in the oven with a light on, on top of your fridge, or on your dashboard). Other veggies, like tomatoes, need a little more heat and airflow to dehydrate before molding. If you don’t have a dehydrator, try drying high-moisture veggies on a screen on a hot, sunny day, or in the oven on the lowest temperature you can set it -- be sure to check and turn them frequently. Spring veggies that rehydrate well include greens such as dandelion, kale and spinach, shelled peas and green onions.
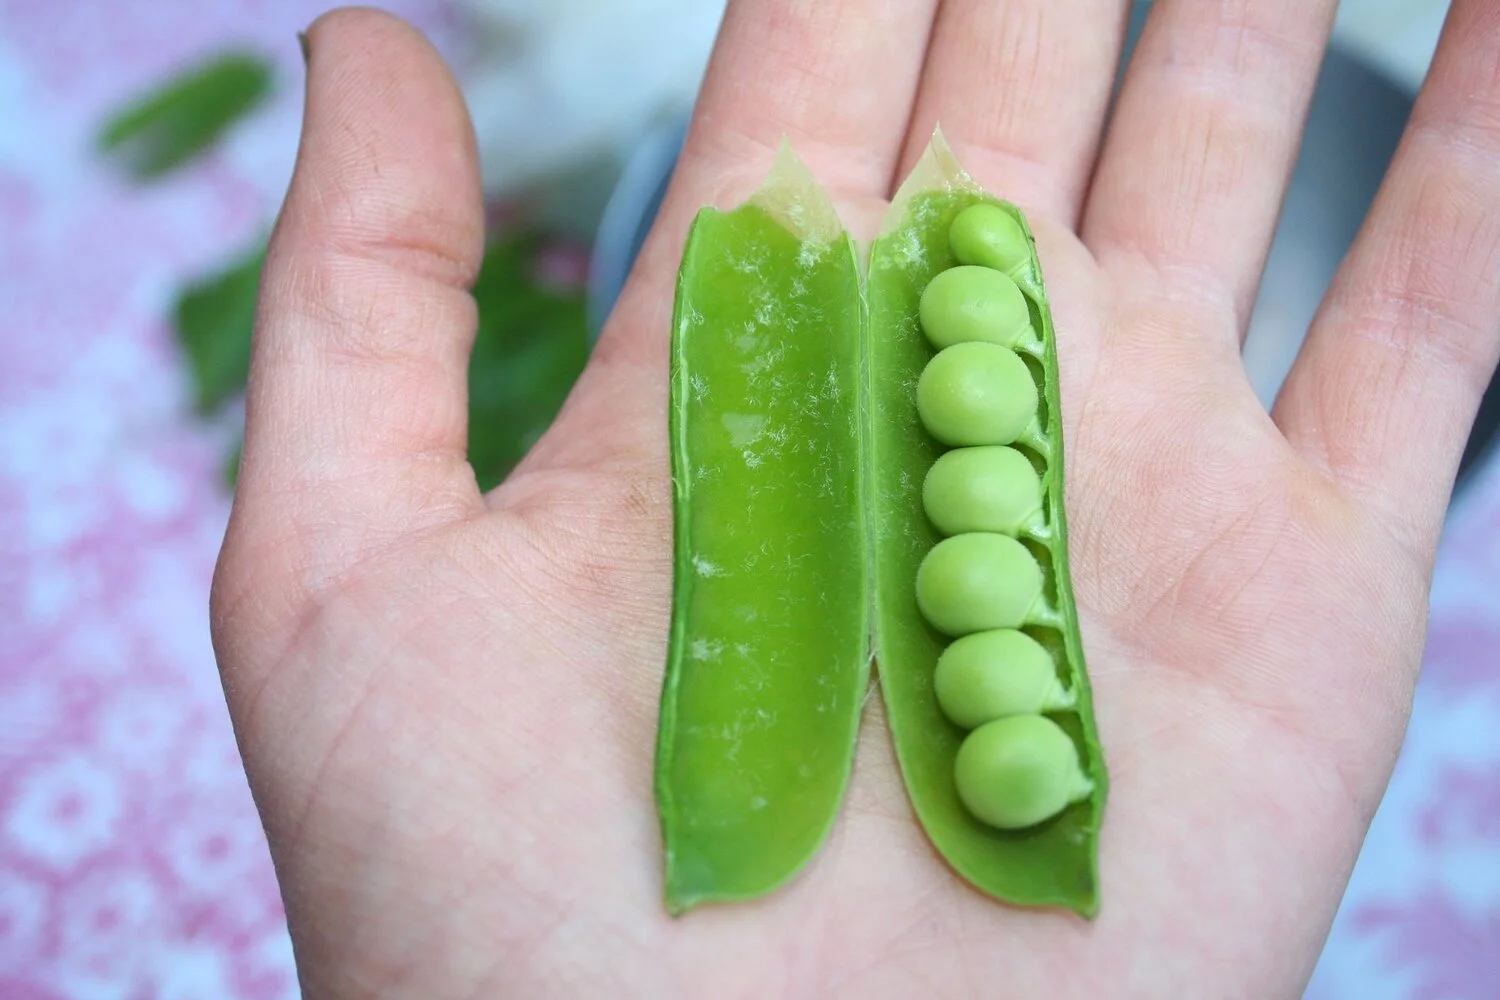
Spring peas — photo: Katie Ryan
Fruits
Like vegetables, your favorite fresh fruits can be dehydrated into more flavorful, potent, and packable versions of themselves. Full of natural sugars and fiber, they make a great addition to your active snack stash -- just remember that they’re a concentrated energy source and it’s easy to overdo it! Add a handful to a traditional trail mix or stash them in your pocket for a mid-climb burst of energy while at the belay.
In addition to making great snacks, try using dried fruits to plump up the flavor of dehydrated meals. A common example is tossing dried fruits or berries into oatmeal for breakfast. At Farm To Crag, we like to get creative and use dried fruits for seasoning savory meals as well. An easy “taco bowl” combines onion, garlic, tomatoes, cilantro and dehydrated peaches. Serve with reconstituted refried beans, instant rice, and your favorite dried meat or protein for a meal reminiscent of tacos with peach salsa. There’s nothing more satisfying than bringing your favorite foods, like tacos, into the backcountry.
Dehydrate fruits as described for tomatoes (above), as they tend to have a higher moisture content. Most fruits are tastier, and better preserved, if dipped in citrus juice before drying. While spring isn’t exactly bursting with ripe fruit, you’ll soon find stone fruits (like peaches, plums and nectarines), pears, apples, grapes and a variety of berries widely available from small, sustainable farms around the country.
Fresh Herbs
Fresh herbs add so much flavor and nutrition to meals and are easy to dry. This time of year, many herbs begin to pop up at local farms, as well as in the wild. Depending on where you live, you may be able to forage bay leaves, oregano, mint and thyme, to name a few. Other herbs that pack a punch and do well dehydrated are basil, dill, parsley, tarragon, and lemon balm.
Dehydrate herbs whole as you would other greens, then crumble and use to season your favorite dishes; they are delicious rehydrated as well as dry. You can also hang bunches of herbs tied with twine in your home or vehicle for simple (and beautiful) dehydration the old-fashioned way. Try throwing some dried tarragon into a simple pasta with lemon, olive oil and your favorite veggies, or toss dill and parsley into a savory seed and nut mix. You can even make your own dehydrated backcountry meal kit with dried herbs and veggies, such as a “pesto penne.” For this kit, pack dried farm-fresh zucchini, onions, peppers, spinach and basil, along with penne pasta and some parmesan cheese for a delightful, lightweight backcountry feast!
Stay tuned to hear more about how to use dehydrated herbs to make spice blends for quick and easy meal construction.
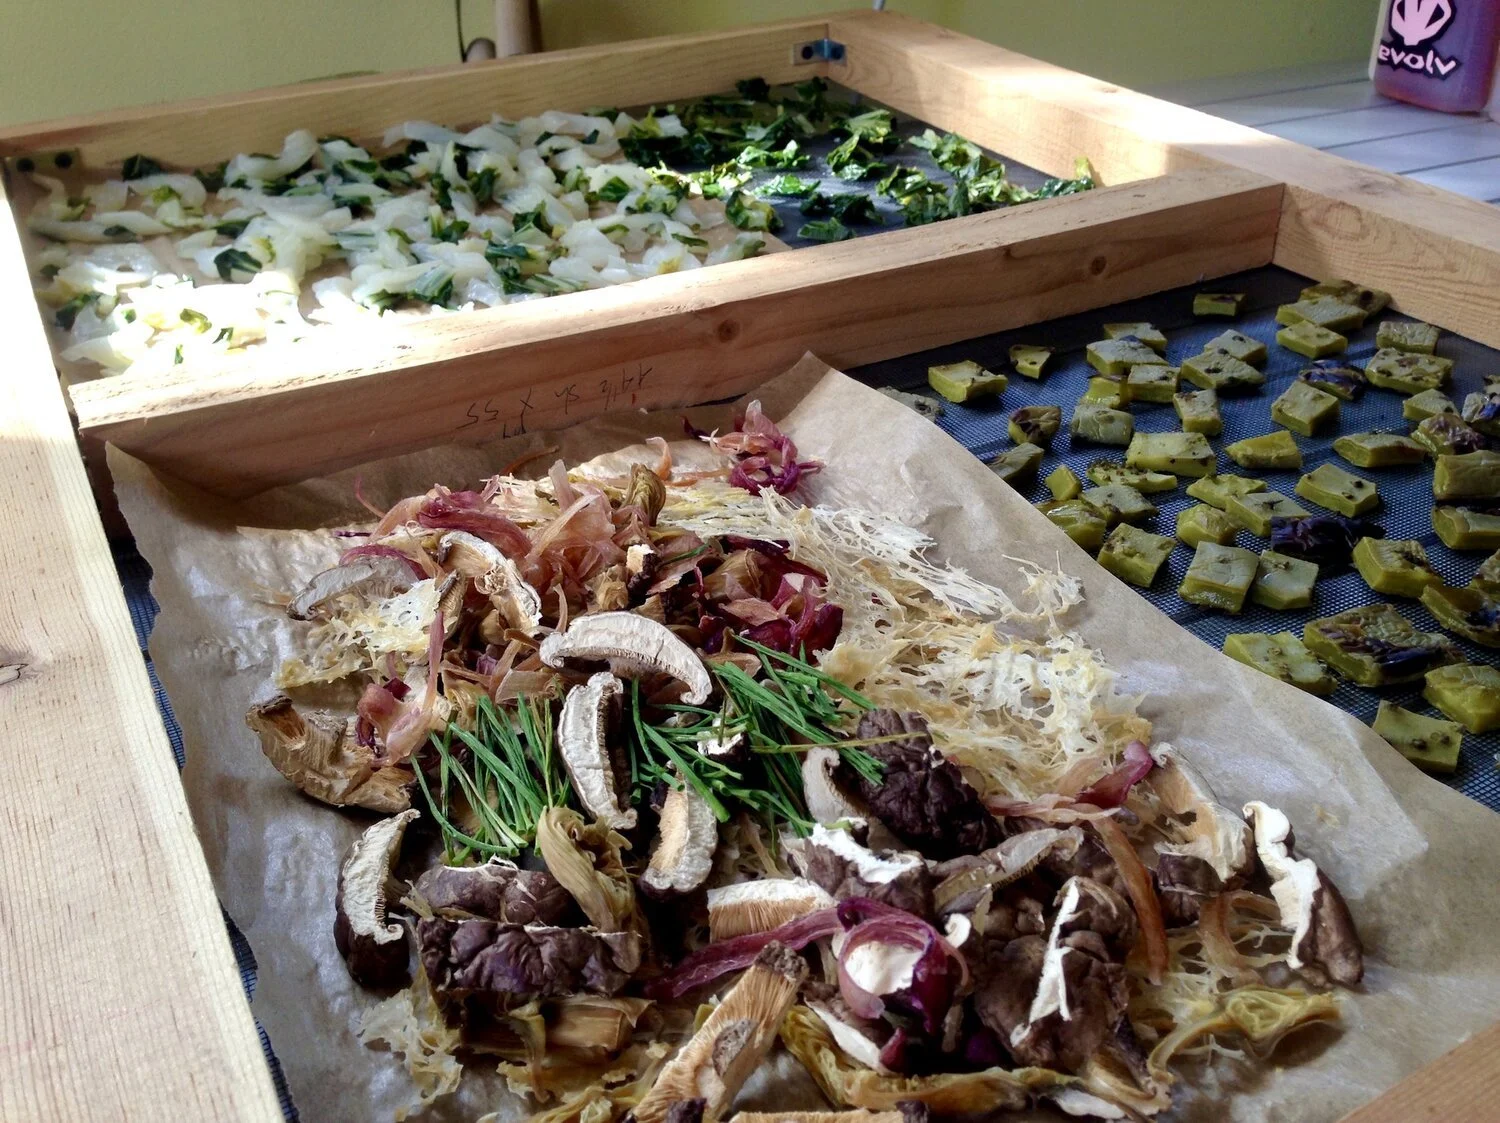
Combine vegetables, meats, fruits, and spices into your own creative meals! Here Linda dries nopales (cactus pads), bok choi, and a meal of spaghetti squash, mushrooms, chives, onion, garlic, and artichoke hearts (just add pesto, bone broth, and fish or chicken) on a homemade drying screen. — photo: Linda Tyler
Meats & Jerky
You can also dehydrate almost any meat, but you’ll get the best results with lean muscle meats like ground turkey, white meat chicken, goat or sheep, beef heart, 90/10 beef, or wild harvested animals. Whatever you choose, make sure it’s organically-fed, ethically-raised, and/or in-season game meats for the best nutrient profile and the most feel-good protein! If you want to dehydrate a fattier meat, simply pat it frequently with a dry cloth or towel throughout the drying process to remove excess fat that might rancidify during storage.
Meat from carefully raised -- or hunted -- animals is not only delicious, but also provides a complete source of protein (meaning it contains all 9 essential amino acids) and is the most bioavailable way to consume protein. Legumes, grains, and vegetables likewise provide an array of amino acids, though they’re not as easily digested or absorbed as those from animal sources. So, if it’s within your dietary philosophy, include dehydrated meats in your crag pack and camping kit for lightweight, nutrient-dense protein.
Dried Sweet Potato Recipe
- 4 lbs SWEET POTATO
- 1 tbsp KOSHER SALT
- 1 tsp LEMON JUICE
- 1 tsp GROUND CUMIN (optional)
- 1 tsp SMOKED PAPRIKA (optional)
Wash sweet potatoes and slice into quarter-inch-thick rounds.
In a pot of boiling water, boil rounds just until you can barely insert a fork into them (about 5 minutes). Transfer to a cold water bath with 1 tsp lemon juice to cool.
Strain water, let dry, and cut rounds into cubes. Lay cubes out on dehydrator trays, or on a screen.
Sprinkle with salt and optional seasoning.
If using a screen, place screen in a warm, dry place until completely dry. In a food dehydrator, sweet potatoes will dry overnight. In a less controlled environment, such as a dashboard or an oven with a pilot light, it may take a couple days. When they are finished, they will be shriveled and hard to the touch. Store in an airtight container or bag until ready to use.